You're staring at your bathroom or kitchen and the tile is just… not it anymore. Maybe it's that outdated beige from the 90s. Maybe it's an ugly green that came with the house. Or maybe the grout lines are stained beyond saving and the whole thing just looks tired.
Replacing tile is expensive. Messy. Time-consuming. And honestly — a bigger project than most people want to take on.
So the question comes up: can you just paint it?
Yes, you absolutely can paint ceramic tile. It's a legitimate home improvement option that thousands of homeowners use every year. But — and this is important — there's a right way to do it and a wrong way. Do it right and it looks great and lasts for years. Do it wrong and you'll be peeling paint off your tiles within months.
Here's everything you need to know.
Does Painted Ceramic Tile Actually Hold Up?
This is the first thing everyone wants to know. And it's a fair concern.
Ceramic tile is a notoriously difficult surface to paint. It's smooth, glossy, non-porous, and designed to repel just about everything — including paint. Standard wall paint will not stick to ceramic tile. Full stop.
But with the right preparation and the right products, paint can bond to ceramic tile and hold up well for 5 to 10 years in low-traffic areas like walls. In higher-traffic areas like floors, countertops, or shower walls, the lifespan is shorter — and requires more durable products and a solid topcoat.
The key is preparation. That's what separates a paint job that lasts from one that chips and peels within a season.
Where Can You Paint Ceramic Tile?
Not all tile locations are created equal when it comes to painting. Here's a quick breakdown:
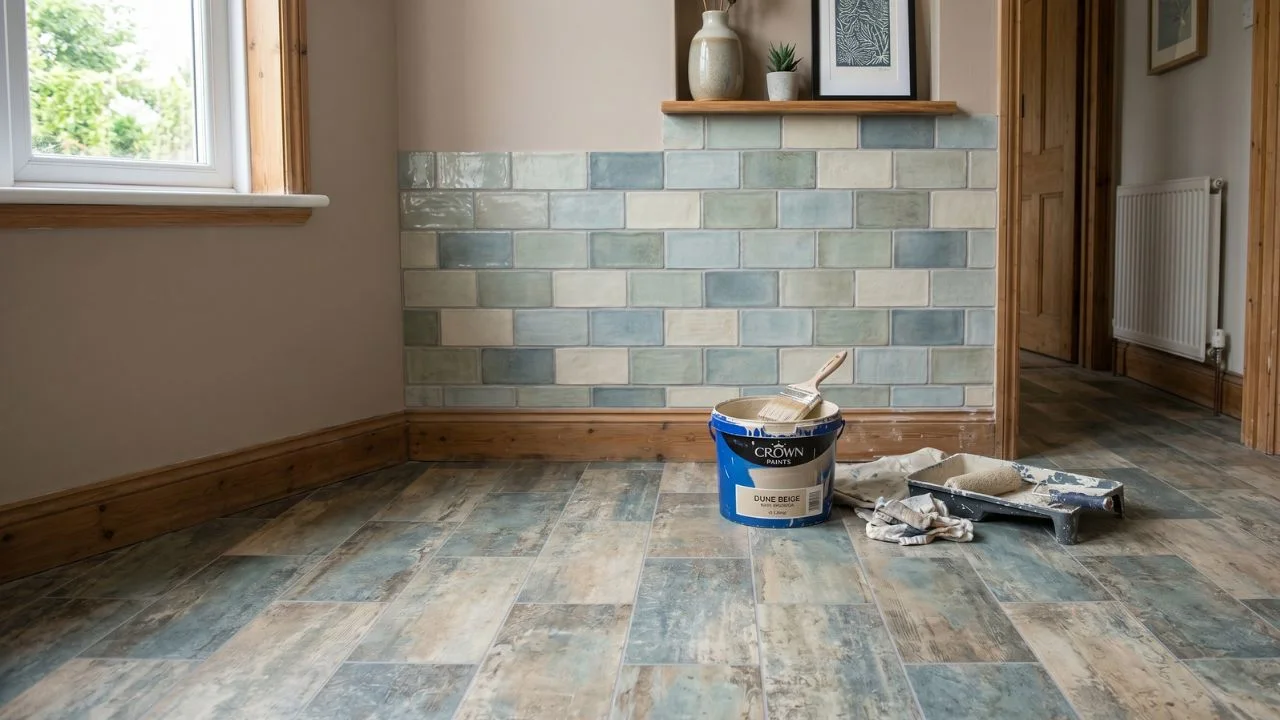
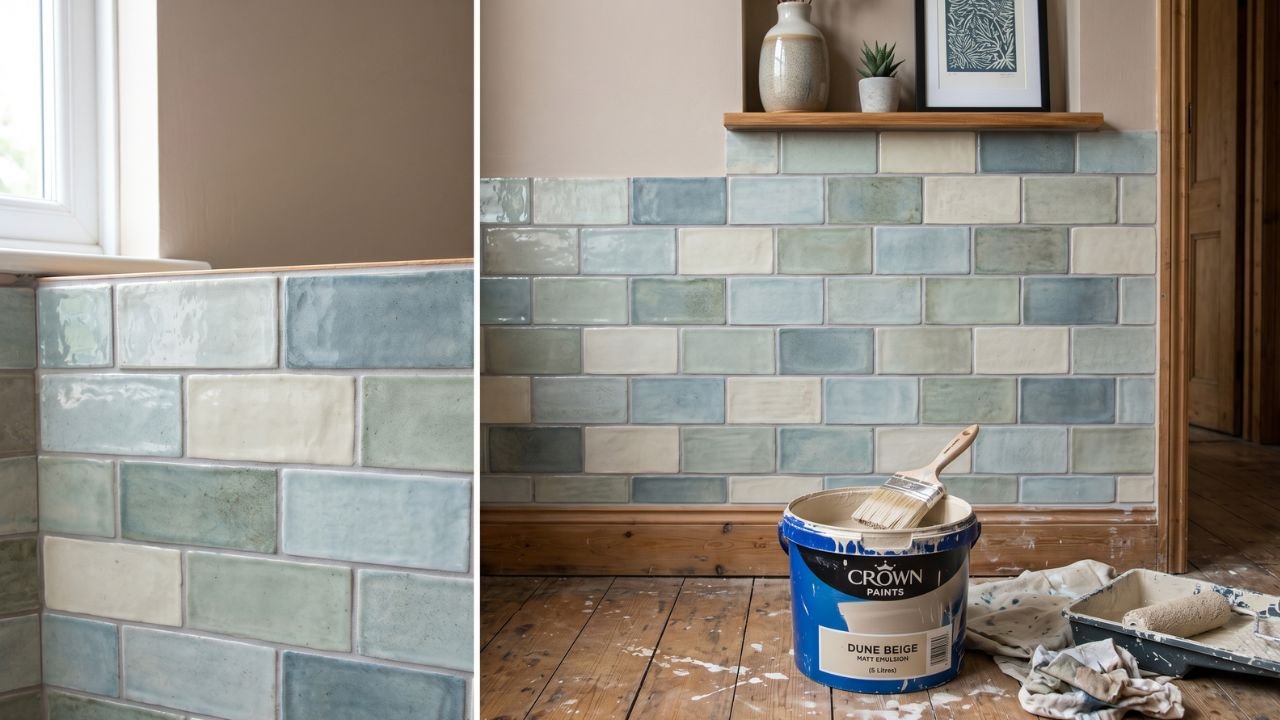
Bathroom Walls: Great Candidate
Tile on bathroom walls — backsplash areas behind the sink, walls above a tub — are excellent candidates for painting. They don't get heavy foot traffic, they're relatively dry, and the paint holds up well with proper prep and a good topcoat.
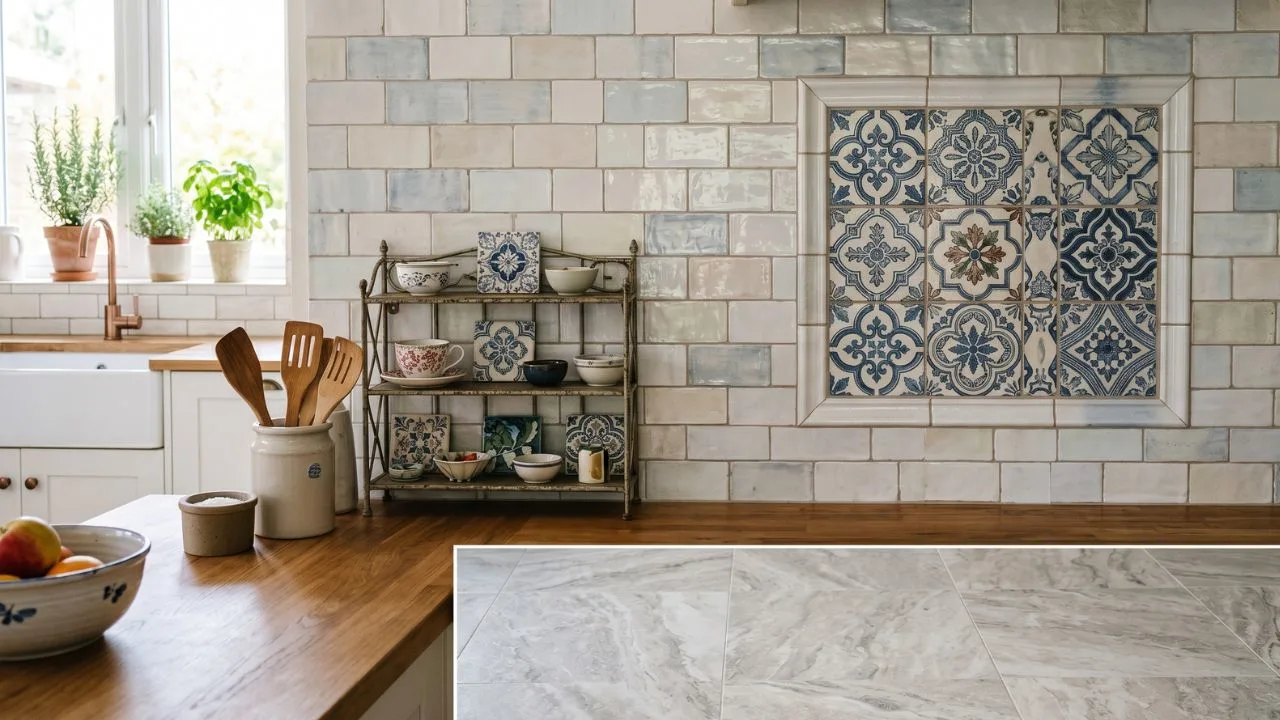
Kitchen Backsplash: Good Candidate
Kitchen backsplash tile can absolutely be painted. You'll want a durable finish that can handle occasional splashes and steam. Avoid painting tile directly behind a stove where heat is constant.
Floor Tile: Possible but Challenging
Floor tile can be painted but it's significantly more demanding. Foot traffic, furniture, dropped items — all of these wear paint down faster. If you paint floor tile, you need a heavy-duty floor epoxy paint and multiple coats of a durable sealer. Expect to redo it more frequently.
Shower Tile: Proceed With Caution
Shower tile is the most challenging. Constant moisture, steam, and water exposure make it hard for any paint to last long-term. If you go this route, you need a 100% epoxy paint specifically designed for wet areas. Even then, it's not a permanent fix.
Pool Tile: Not Recommended
Pool tile is constantly submerged and exposed to chemicals. Standard tile paint won't survive this environment. Skip it.
What Kind of Paint Do You Use on Ceramic Tile?
This is where most DIY projects go wrong. People grab a can of regular wall paint, slap it on, and wonder why it's peeling three months later.
You need paint specifically formulated to bond to hard, slick surfaces. Here are your main options:
Option 1 — Epoxy Paint
This is the gold standard for painting ceramic tile. Two-part epoxy paint creates an extremely hard, durable finish that bonds strongly to tile surfaces. It's water-resistant, chemical-resistant, and holds up to scrubbing.
Best for: Bathrooms, kitchens, floors, showers Pros: Very durable, long-lasting, professional finish Cons: Harder to apply, strong fumes, less color selection, more expensive
Popular products: Rust-Oleum Tub & Tile, KILZ Tub & Tile
Option 2 — Latex Paint With Bonding Primer
Regular latex or acrylic paint can work on tile if you first apply a high-quality bonding primer. The primer does the heavy lifting — it creates a surface that the paint can grip. Without it, even good paint will fail.
Best for: Accent walls, decorative tile, low-moisture areas Pros: Wide color selection, easy to apply, affordable Cons: Less durable than epoxy, needs a strong topcoat sealer
Option 3 — Chalk Paint
Chalk paint has become popular for furniture and it does adhere to tile without primer in many cases. It gives a matte, vintage look. However it needs to be sealed very well or it won't last.
Best for: Decorative tile, backsplash accents, low-traffic areas Pros: Easy application, no primer needed, great for decorative looks Cons: Not durable without sealing, not water-resistant on its own
Option 4 — Tile-Specific Paint Kits
Several companies make all-in-one tile painting kits that include primer, paint, and topcoat designed to work together. These are great for beginners because the guesswork is eliminated.
Best for: First-time DIYers, complete bathroom makeovers Pros: Everything matched and optimized, easy to follow Cons: Limited color options, more expensive per square foot
What You'll Need
Before you start, gather these supplies:
Tile cleaner or degreaser (TSP cleaner works great)
Fine-grit sandpaper (220 grit) or liquid deglosser
Painter's tape
Bonding primer (if not using epoxy or a kit)
Tile paint or epoxy paint in your chosen color
Small foam rollers (4-inch works well for tile)
Quality angled brush for edges and grout lines
Clear topcoat sealer (polyurethane or epoxy sealer)
Drop cloths
Step-by-Step: How to Paint Ceramic Tile
Step 1 — Deep Clean the Tile
This is the most critical step. Any grease, soap scum, mildew, or residue will prevent the paint from bonding properly.
Use a TSP cleaner (trisodium phosphate) or a strong degreaser. Scrub every inch of the tile and grout. Pay extra attention to corners and grout lines where buildup hides.
Rinse thoroughly and let it dry completely — at least 24 hours. The tile must be bone dry before you move forward.
Step 2 — Repair Any Damaged Tile or Grout
Now is the time to fix cracked grout, fill chips in tile, or replace any broken tiles. Paint will highlight imperfections, not hide them. Use a grout repair compound for grout lines and a tile filler for chips.
Let all repairs cure fully before continuing.
Step 3 — Sand or Degloss the Surface
Ceramic tile is glossy. That shiny surface needs to be dulled so the primer and paint have something to grip.
You have two options:
Sanding: Use 220-grit sandpaper and lightly scuff the entire surface. You're not trying to remove the glaze — just rough it up slightly. Wipe away all dust with a damp cloth afterward.
Liquid Deglosser: If sanding feels like too much work, a liquid deglosser (like Wilbond or similar) does the same thing chemically. Wipe it on, let it sit, wipe it off. Much faster for large areas.
Step 4 — Tape Off Everything
Use painter's tape to protect edges, fixtures, trim, and anything you don't want painted. Take your time here — clean lines make a huge difference in the final result.
Press the tape down firmly along the edges to prevent paint from bleeding underneath.
Step 5 — Apply Bonding Primer
If you're using epoxy paint, check whether a separate primer is required — many epoxy products are self-priming. If you're using latex paint, a bonding primer is non-negotiable.
Apply the primer with a small foam roller for flat surfaces and a brush for grout lines and corners. Work in thin, even coats.
Let the primer dry completely according to the manufacturer's instructions — usually 2 to 4 hours. Don't rush this.
Step 6 — Apply the First Coat of Paint
Use your foam roller for the broad surfaces and a brush for detail work along grout lines and edges. Apply a thin, even coat — don't try to get full coverage on the first pass.
Thin coats are the secret to a smooth, durable finish. Thick coats bubble, drip, and peel.
Let the first coat dry completely before moving on.
Step 7 — Apply the Second Coat
Once the first coat is dry, apply the second coat the same way. Most tile paint jobs need two to three coats for full, even coverage.
Each coat should be thin and even. Let each one dry fully before adding the next.
Step 8 — Apply a Clear Topcoat Sealer
This step is what separates a tile paint job that lasts from one that doesn't.
Once your final paint coat is completely dry, apply a clear topcoat sealer — polyurethane, polycrylic, or an epoxy sealer. This protects the paint from moisture, scratches, and everyday wear.
Apply two to three coats of sealer, letting each one dry between applications.
Step 9 — Cure Time
After the final sealer coat, resist the urge to immediately test it out. Let everything cure for at least 72 hours before exposing it to water or heavy use. Some epoxy products recommend a full week before shower use.
Patience here pays off in durability.
How to Paint Grout Lines
Grout lines deserve special attention. You have two approaches:
Paint over everything including grout. This is the simplest approach. Roll paint over the entire surface — tile and grout together — and the whole thing becomes one cohesive color. Works great for a uniform look.
Paint just the grout lines a different color. This is more labor-intensive but creates a striking two-tone effect. Use a small artist's brush to carefully paint just the grout lines in a contrasting color. Tape the tile edges if needed for clean lines.
Grout paint pens are also available and make this process much easier — they look like thick markers and are perfect for tracing grout lines with precision.
Color Ideas for Painted Ceramic Tile
Choosing the right color can completely transform a space. Here are some popular directions:
Crisp White — The most popular choice for dated tile. White makes a bathroom feel clean, modern, and bigger. It works on any tile shape or layout.
Soft Gray — A warm or cool gray is timeless and pairs beautifully with chrome or brushed nickel fixtures.
Navy or Deep Blue — Bold and dramatic. Works especially well in powder rooms or as a kitchen backsplash.
Sage Green — Earthy, calming, and very on-trend right now. Beautiful in bathrooms.
Black — A high-contrast black tile with white grout lines creates a stunning, modern look.
Two-Tone — Paint the tiles one color and the grout lines a contrasting color for a custom, designer look.
How Long Does Painted Tile Last?
With proper prep and the right products, here's what to expect:
Location | Expected Lifespan |
|---|---|
Bathroom accent walls | 5 – 10 years |
Kitchen backsplash | 3 – 7 years |
Floor tile (with epoxy) | 2 – 5 years |
Shower tile (epoxy only) | 2 – 4 years |
These ranges assume proper prep, quality products, and a good topcoat sealer. Skipping steps will dramatically shorten the lifespan.
Common Mistakes to Avoid
Skipping the cleaning step. Any residue on the tile will prevent proper adhesion. Clean like your paint job depends on it — because it does.
Using regular wall paint. It will not stick. Don't waste your time or money.
Skipping the primer. Unless your epoxy paint is self-priming, bonding primer is not optional.
Applying thick coats. Thin coats every time. Thick coats peel.
Not sealing the final coat. The topcoat sealer is what gives painted tile its durability. Don't skip it.
Rushing the cure time. Let everything dry and cure fully between every step. Impatience is the enemy of a good paint job.
Painting over cracked or damaged tile. Fix problems first. Paint won't hide structural issues.
Is It Worth It?
Let's be real for a second. Painted tile is not a permanent solution. It's a cosmetic fix — a way to update the look of your space without the cost and disruption of a full tile replacement.
It's worth it if:
You're renting and can't replace the tile
You're selling the house and want a quick refresh
You're on a tight budget and need a change
The tile is structurally fine but just ugly
You want a short-term update while saving for a full renovation
It might not be worth it if:
The tile is cracked, chipping, or structurally failing
You're looking for a permanent solution
The area gets constant moisture or heavy traffic
You're planning a full renovation in the next year or two
How Much Does It Cost to Paint Ceramic Tile?
Compared to replacing tile, painting is dramatically cheaper:
Item | Estimated Cost |
|---|---|
TSP cleaner | $10 – $15 |
Sandpaper or deglosser | $10 – $20 |
Bonding primer | $20 – $40 |
Tile paint or epoxy | $30 – $80 |
Clear topcoat sealer | $15 – $30 |
Rollers, brushes, tape | $15 – $25 |
Total DIY cost | $100 – $210 |
Professional tile painting runs $300 to $1,000 or more depending on the size of the area. Still a fraction of what full tile replacement costs, which typically runs $1,500 to $5,000+ for a bathroom.
Bottom Line
Yes, you can paint ceramic tile — and when done correctly, it delivers a surprisingly beautiful and durable result. The transformation can be dramatic, and the cost savings compared to replacing tile are significant.
The secret is in the prep work. Clean obsessively, sand properly, use the right primer and paint, apply thin coats, and seal everything at the end. Follow those steps and your painted tile will turn heads for years.
It's one of the best budget-friendly home updates you can make — and it's a project most homeowners can tackle over a weekend.